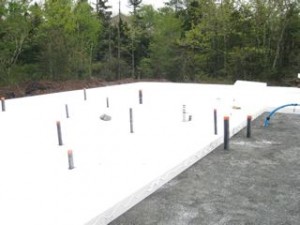
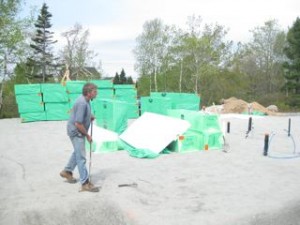
Two large trucks delivered the mountain of EPS foam to be laid under the foundation. We started by installing the perimeter horizontal slab pieces, with adhesive in the joints. We had a problem in that the vertical blocks that keyed into the horizontal slabs were both cut to the same measurement at the plant so they would not fit together. A run through the tablesaw trimmed the pieces so that we had a good fit. With these pieces glued in place the perimeter was very solid. We quickly learned that we needed to adjust for straight and square right away or we struggled to move the foam when the glue had set up.
The foundation contractor and his crew took great care to ensure each piece was checked for level with the laser level to ensure the top of our foam made a level formwork for the slab. Cutting the thick slab was also trial and error to start. We finally found the circular saw cut on both side of the 6″ slab the cleanest, straight cut.
The slab foam inside the perimeter went down quickly as we didn’t have to be so careful with the leveling of these pieces. We applied another 2″ slab piece inside the foundation and glued these to the 6″ slabs.
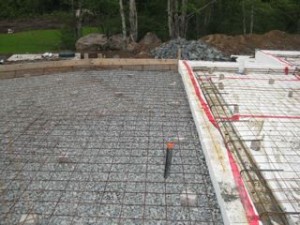
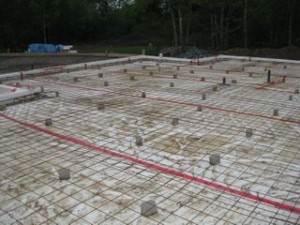
 We install the vapour barrier and sealed the joints and penetrations. The structural steel was installed with half pieces of concrete paver block as we thought the chairs would sink into the foam with the weight of the concrete. We wrapped the vapour barrier over the top but in hindsight it would to better to cut this off and seal to the inside of the vertical foam. We had to use acoustical sealant in the joint between the horizontal and vertical foam to insure the vapour barrier would sit down flush against the corner.
Of course the weather was not finished with us and it rained the night after we finished sealing the vapour barrier creating a small swimming pool over night. A couple hours with the shop vac and we removed the majority of the water. Finally we had a beautiful day and we poured the slabs. Interestingly, we used 10% more concrete than estimated, we expect from the compression and settling of the foam under the weight of the concrete.
Photos of the slab ready for concrete:


Leave a comment