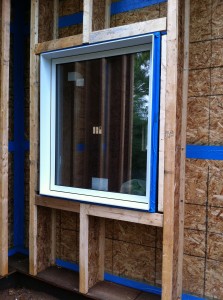
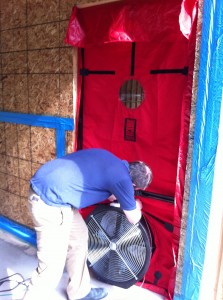
 With the windows installed and sealed and the exterior OSB wall layer and interior plywood ceiling layer completed, we conducted our first blower door test using the passive house method of averaging tests using pressurization and depressurization. Our first test scored an average of .64 ACH with is slightly above the Passive House standard with quite a range between the two tests: .70 and .58. Running around the inside feeling for leaks, we were able to identify a number of problem areas. The main issue was the leakage around the shims on the big south windows. We also found a few other spots in the window corners and the junction of the side and bottom of the weatherstripping on the exterior doors.
 Because we mounted the blower door in a rough opening for our last door that we will install after all the materials are loaded in the house, we had a fair amount of air leaking here. I was OK with this in our calculations as we still need to cut our mechanical penetrations in the envelope so I figure this leakage may be close to what our penetrations will be.
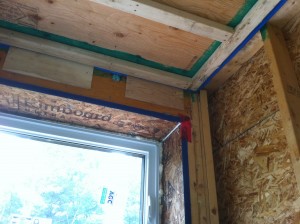
To improve on our results, we cut the shims off the flush with the interior of the windows and blue skinned inside from the frame to the plywood box along the sill. We touched up the corners and blue skinned the exterior of the south windows. We had last them with foam only to see if we could observe any differences. We definitely needed the second defense. I would not rely on spray foam as my sole air tight strategy. It doesn’t appear we can make any changes to improve the leak at the corners of the doors but they are pretty small so I think they will be fine.
 After correcting what we found, we ran another blower door test late Thursday night. It was almost dark by the time we set up but with the help of my headlight to navigate my way around and my sensitive finger tips I was happy to find the leakage around the windows had been solved. I spend some time checking the ceiling, OSB walls and connection at the top plate. I was able to identify a number of other spots to correct. The seams between the sheets of plywood were no problem. I was surprised to find a long crack in the plywood was leaking badly. Also found a number of leaks around the truss tie down clips. Even with these areas, our test result came in at an average of .52. We will still spend some time to tighten up the leaks found on the second test before running our next test when the mechanical and electrical rough in is finished.


Leave a comment